How to Make Your Own Bow Tie

I’ve got to be honest. I don’t make enough things for the men in my life. Nor do they ever seem to be able to easily find patterns or crafts that interest them. I wanted to change all that by creating a simple tutorial that anyone could use to create a neat bow-tie that's perfect for any occasion.
Supplies

- 1/2 yard (or 1/2 metre) fabric
- 1/2 yard (or 1/2 metre) medium weight interfacing
- Ruler
- Pencil
- Tailor’s chalk
- Paper
- Fabric scissors
- Sewing machine
- Sewing thread
- Iron
- Downloadable bow tie template
1. Make Your Template from a Bow Tie
If you already have a bow tie at hand you can use this to make your template. If you don't have a bow tie, move directly on to Step 2. Fold it in half and trace the outline onto paper.
2. Make a Template Without a Bow Tie
If you don’t have a bow-tie, you can use the template I’ve made. All you need to do is measure around your neck and divide that number by two. We’ll call this measurement (neck circumference divided by 2) your half-neck measurement.
Sketch out a rectangle that is as long as your half-neck measurement and 7/8in (or 2cm) wide.
Print and cut out the bow-tie-template and attached this to your rectangle. You now have a bow-tie template.

3. Prepare Your Materials
Step 1
Cut out your template.

Step 2
Fold your fabric in half - I'm using a blue denim fabric. Make sure it is wide enough to fit your template.

Step 3
Place your bow tie template on the fold.

Step 4
Use tailor’s chalk to trace around your template. Use a solid line.

Step 5
Now add the seam allowance. Use a ruler to add 3/8in (or 1cm) around the outside of your chalk outline. Use a dashed line.

Step 6
Cut out your fabric.
Repeat steps 2 to 5 to create another bow tie piece. You should now have two full-length bow tie pieces.

4. Add Interfacing
Fold your interfacing in half. Make sure it is wide enough to fit your bow tie template.
Place your bow tie template on the fold. Trace around your template and then cut out. Repeat so you have two long pieces of interfacing. They will be the same as the fabric you cut out earlier, except they won’t have any seam allowance added.
Iron the cut-out interfacing onto the wrong side of your fabric.

5. Assemble Your Bow Tie
Step 1
Place your two pieces of fabric right sides together. Pin in place.
Sew around the bow tie, leaving a 3/8in (or 1cm) seam allowance.
Be sure to leave a gap of 1in (or 3cm) on one long side of the bow tie.

Step 2
Trim the seam allowance so that it's as close to the stitches as possible.

Step 3
Turn your bow tie inside out, using the gap that you left in the long side.
You may find it helpful to use a chopstick to turn the fabric inside out.

Step 4
Once the bow tie has both sides turned to the right side, give the whole bow tie a good press with an iron.
In the gap you created, make sure you turn the seam allowance under and press.

Step 5
Sew the gap closed using a sewing needle and an invisible stitch.

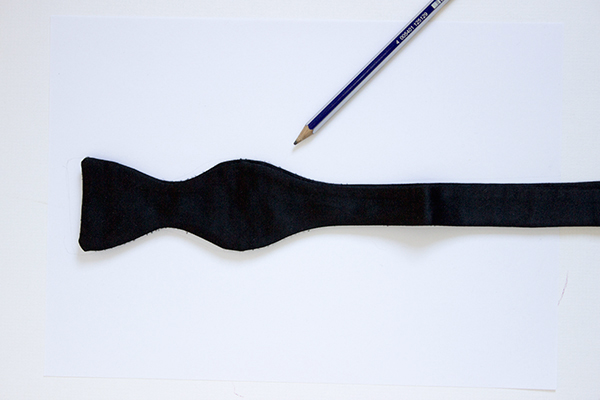
Wear Your Smart New Bow Tie
And you’re finished. Well done!
I used a dark denim in this tutorial, but you could use anything you fancy. How about a rich silk, or something a little less serious in a fun cotton print? Liberty print fabric always looks great! Now that you’ve seen how easy it is to make a bow tie, you can create a whole wardrobe of bow ties in a rainbow of colors and prints!

Now that you’ve seen how easy it is to make a bow tie, you can create a whole wardrobe of bow ties in a rainbow of colors and prints! Let us know how you went with this tutorial. Do you have any other ideas you'd like to see for dude craft?


0 comments:
Post a Comment